Open topic with navigation
CRM Dashboard Groups
You can organize your contact records into groups. On the Advisor Portal home page the list of records can be sorted by Group.
Use the Manage Groups page to:
To view the current members in any group
- From the Advisor Portal home page, click the Groups tab.

The Manage Groups page opens. The Manage Groups page lists all of your current groups, along with the members in each group.
- Click the drop down arrow next to the group you want to move. The group will expand to display the members of the group. You can view each member of your group individually by clicking the information icon on the left.
To add a new group and add members to the group
- From the Advisor Portal home page, click the Groups tab.
The Manage Groups page opens.
- Click the Plus Sign icon on the upper right of the group list.
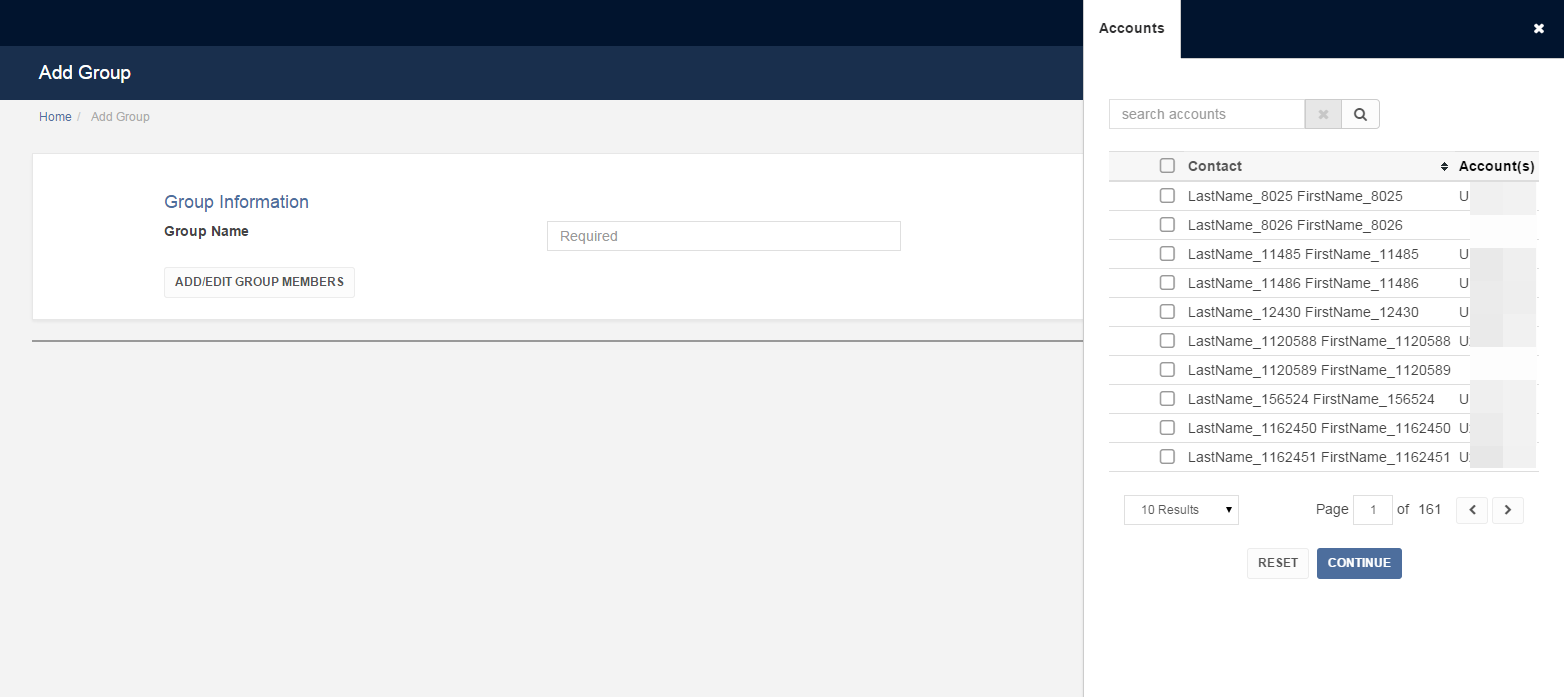
- In the Create Group box, type the name of the new group, and then click Add/Edit Group Members.

- Use the account selector to select accounts to add to the group you are creating, then click Continue.
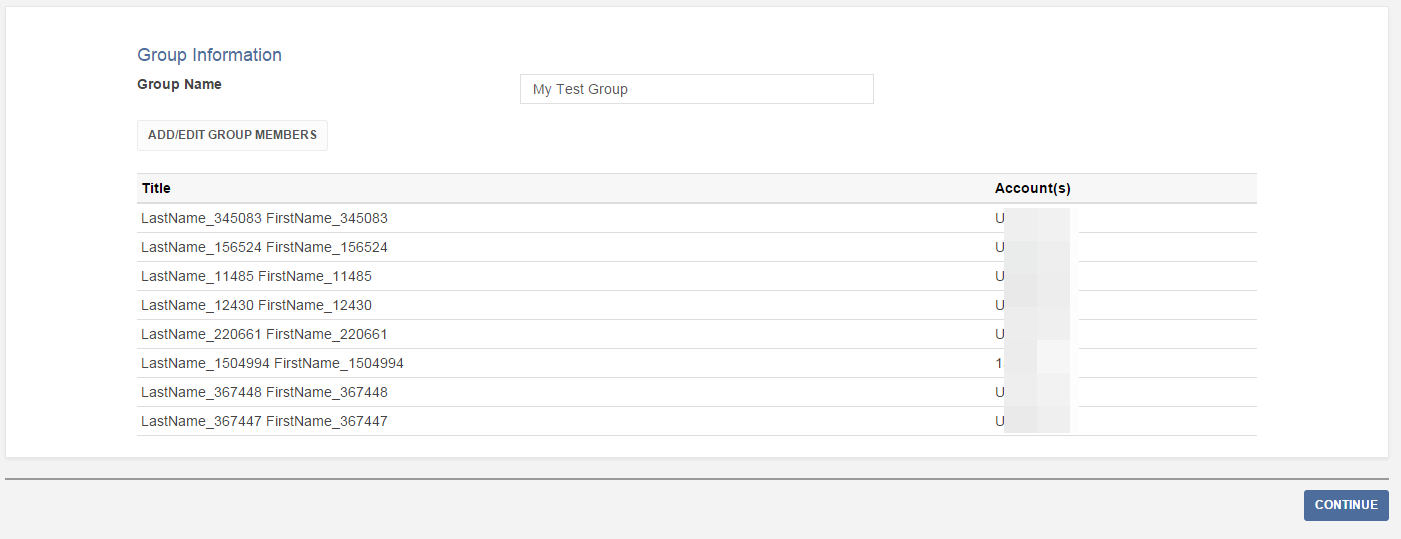
- The selections you made will be displayed. When you are finished adding members to your group, click Continue.
- Click Ok to exit the completion screen.
The contacts you selected are now part of the new group you created.
Create and Manage a Household Group
Household groups are groups with members that share the same residential address. Household groups have additional features that allow you to specify a head of household that has specialized permissions to run a statement and other limited functions.
If you choose to specify a group as a household, you will only be able to add members that share the same address.
To Create a Household Group
- Follow the steps to create a new group and add members that are within the same residential address.
- The CRM will ask if you want to create a household. Toggle the button to Yes, then click Continue.
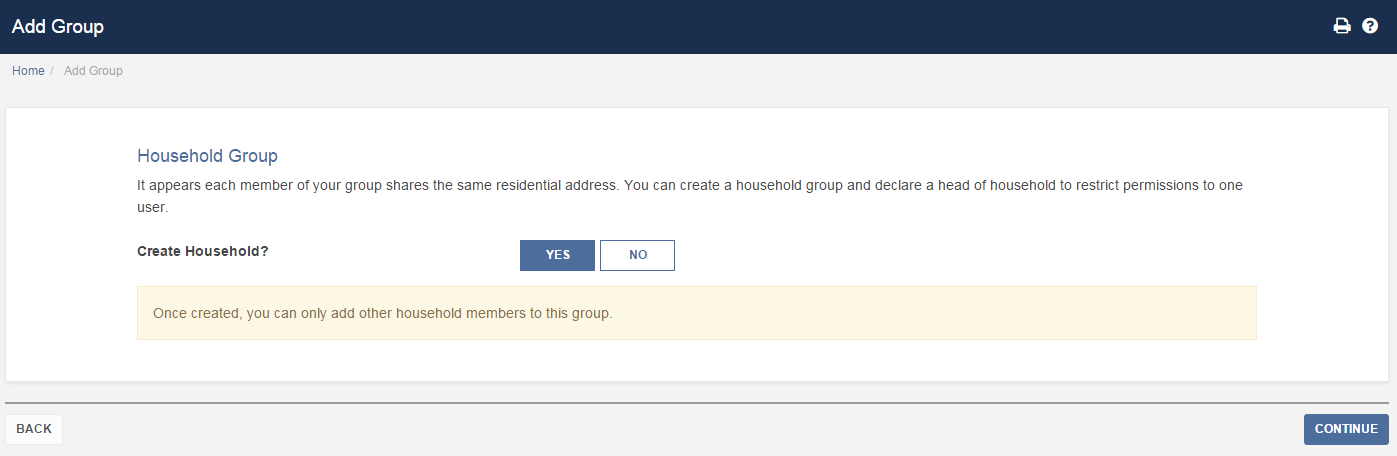
- Optionally, designate one user to be the Head of Household.
- Click Continue to view your household group.

- Click Ok to exit the completion screen.
To edit or delete an existing group
- To edit a group, view the Groups tab and click the blue pencil icon next an existing group/household.
- To delete a group, view the Groups tab and click the x icon next to an existing group/household.