You are here: Reports > Settings > Client OATS Settings

Client OATS Settings

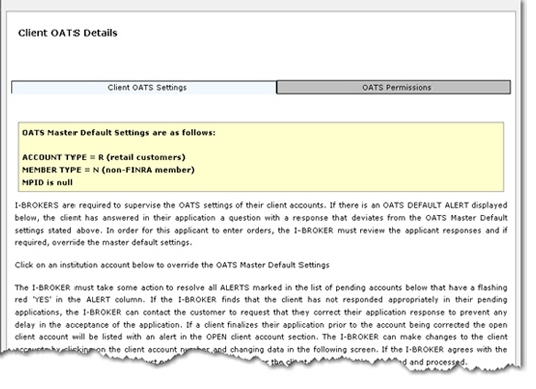
The Financial Industry Regulatory Authority (FINRA) established the Order Audit Trail System (OATS) as an integrated audit trail of order, quote and trade information for Nasdaq securities. I-BROKERS are required to supervise the OATS settings of their client accounts. The Client OATS Settings page displays all open and pending client accounts and the OATS Master Default Settings. You use this page to configure the OATS settings for your client accounts:

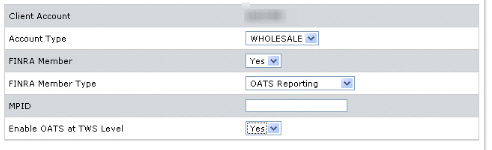
To override the OATS Master Default Settings for an institutional account

  1. Click Reports > Client OATS Settings.

  1. In the list of Open Client Accounts, click the desired Client Account number.
  2. In the Account Type list, select RETAIL or WHOLESALE. If you select WHOLESALE, the FINRA Member list becomes available.
  3. In the FINRA Member list, select YES or NO. If you select YES, the FINRA Member Type list becomes available.
  4. In the FINRA Member Type list, select NO, OATS Reporting or OATS Non-Reporting. If you select OATS Reporting or OATS Non-Reporting, the MPID field becomes available.
  5. In the MPID field, type the Market Participant Identifier code to be used for this client account.
  6. In the Enable OATS at IB TWS Level list, select Yes or No as required. Click Continue to save your changes.
    Click Back to return to the Client OATS Settings page without saving your changes.

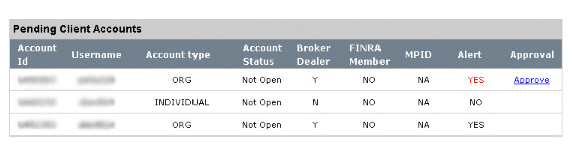
To respond to flashing red alerts for pending client accounts

  1. Click Reports > Client OATS Settings.
  2. An IBroker must resolve all alerts marked in the list of pending accounts that have a flashing red 'YES' in the ALERT column. In the example below, an IBroker would click the Approve link to respond to the alert.

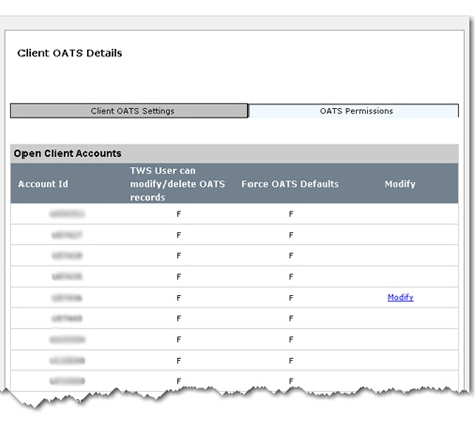
To modify OATS permissions for a specific client account.

  1. Click Reports > Client OATS Settings.
  2. Click the OATS Permissions tab.
  3. Click the Modify link for the client whose permissions you wish to change.
  4. Modify the settings on the page as required. Click Continue to save your changes.
    If you need to make further changes, click Back, then make corrections before submitting.